
· Daniel · Repairs · 8 min read
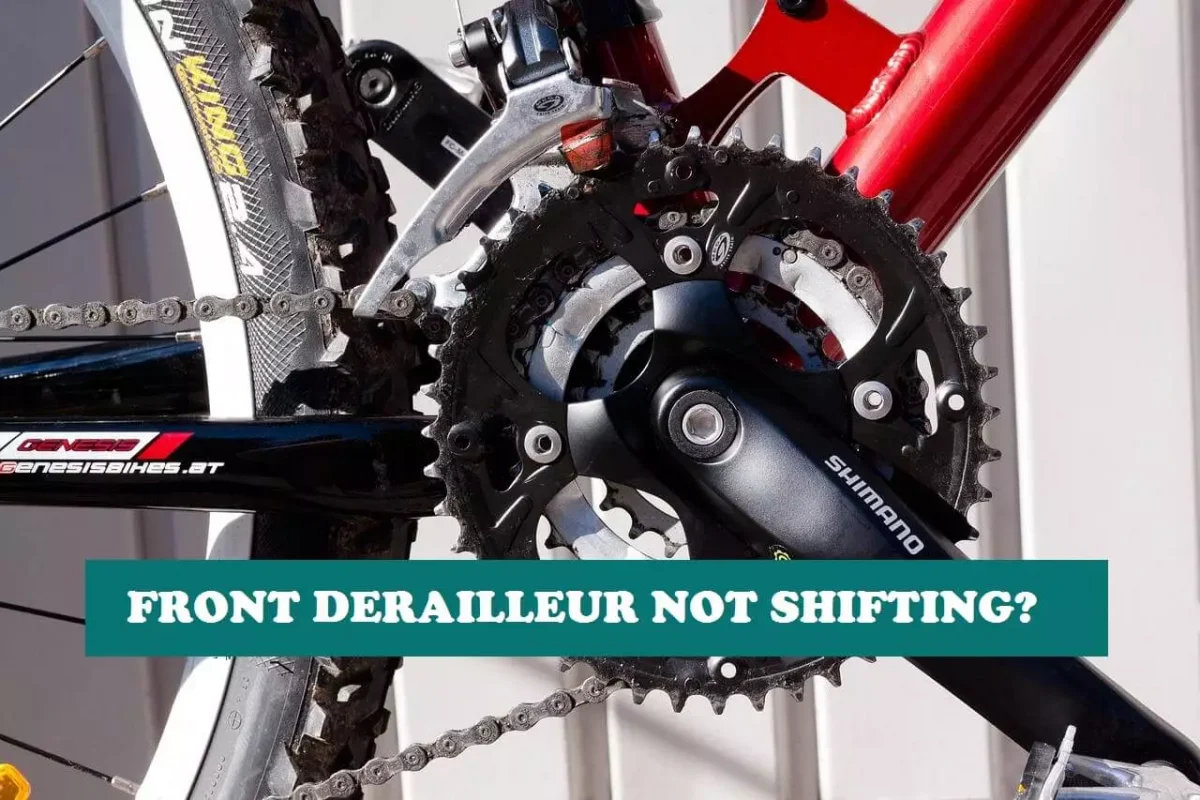
Front Derailleur Not Shifting?
If you're a cyclist and have been riding for a long time, you've probably experienced your front derailleur not shifting at least once right? It's SUPER annoying.
If you’re a cyclist and have been riding for a long time, you’ve probably experienced your front derailleur not shifting at least once right? It’s SUPER annoying.
You’ve just cleaned your bike, adjusted the gears, and greased the chain, but your front derailleur STILL won’t shift.
But there are a few things you can try before taking your bike to the shop. We’ll explain why your front derailleur isn’t shifting and what you can do to fix it in this post.
Quick Diagnostic Checklist
Before diving into repairs, use this checklist to identify the problem:
- Chain won’t shift to larger chainring - Check cable tension and limit screws
- Chain won’t shift to smaller chainring - Check cable tension and inner limit screw
- Chain rubs on derailleur cage - Check derailleur alignment and height
- Shifting feels sluggish or delayed - Check cable condition and lubrication
- Chain drops off chainrings - Check limit screws and derailleur position
- Shifter moves but derailleur doesn’t - Check cable for damage or disconnection
- Derailleur won’t move at all - Check for bent derailleur or seized mechanism
Most Common Issues: Cable tension (60%), limit screws (25%), derailleur position (10%), damaged parts (5%)
Why Is My Front Derailleur Not Shifting?
If your front derailleur isn’t shifting properly, there are a few things you may do to figure out what’s wrong.
To begin, ensure that the chain is properly positioned on the derailleur. Shifting issues might occur if the chain is placed improperly. Next, make sure the derailleur’s limit screws are correctly set.
Limit screws are intended to prevent the chain from over-shifting, hence the wrong adjustment might create shifting issues. Finally, inspect the tension of the wire that connects the shifter to the derailleur.
When the cable is too loose, the chain might slip. If you’ve checked all of these items and your front derailleur is still not shifting correctly, it’s time to take it to a bike shop and get it looked at by an expert.
Step-by-Step Troubleshooting Guide
Follow these steps in order to diagnose and fix your front derailleur:
Step 1: Visual Inspection
- Check if the derailleur cage is bent or damaged
- Look for frayed or rusted cables
- Inspect the derailleur mounting clamp for cracks
- Check if the derailleur is properly aligned with the chainrings
Step 2: Test Cable Tension
- Shift to the smallest chainring
- Pull the shifter cable tight by hand
- If the derailleur moves when you pull the cable, tension is the issue
- Adjust using the barrel adjuster or re-tension the cable
Step 3: Check Limit Screws
- Shift to smallest chainring and largest rear cog
- Check if chain rubs on inner derailleur plate
- Adjust inner limit screw if needed (turn clockwise to move derailleur out)
- Shift to largest chainring and smallest rear cog
- Check if chain rubs on outer derailleur plate
- Adjust outer limit screw if needed
Step 4: Clean and Lubricate
- Clean derailleur with degreaser
- Lubricate pivot points with bike-specific lube
- Clean and lubricate cable housing
- Test shifting after cleaning
How to Fix a Front Derailleur Not Shifting?
Fixing a front derailleur that is not shifting is not a difficult job. Here are a few ways to fix a front derailleur, if:
1. The Derailleur Body Is Not Correctly Positioned
Adjusting the Front Derailleur is the best remedy if your derailleur is not properly positioned. The “cage” through which the chain travels should be roughly 2 mm above the chainring’s teeth (when viewed from the side).
When viewed from below, the cage’s outer plate should be parallel to the chain ring. If you discover that your derailleur cage is twisted or damaged in any way during this operation, bring it to your local REI or another bike shop for servicing.
2. The Derailleur Limit Screws Are Not Properly Set
Limit screws regulate the inner and outer borders of your derailleur arm’s side-to-side movement. A crash might occur if the screws are not appropriately adjusted.
Only move the screws clockwise if your chain is bouncing off either end of your chainrings or outer cassette.
*WARNING: This basic guide for changing limit screws is meant primarily for experienced riders with extensive mechanical abilities. Before you can release the tension in the cable, you must first change the front derailleur to the innermost chainring.*
Next, move your chain to the farthest inside position: the smallest chainring and the largest rear cog. Position the inner wall of the front cage with your inner limit screw.
Position the inner wall of the front cage with your inner limit screw such that there is 2mm of clearance between it and your chain at the place where they come closest together.
3. The Mechanism Is Soiled
Most contemporary bicycles have barrel adjusters incorporated into their derailleur systems for fine-tuning. Barrel adjusters are more commonly employed to fine-tune the position of the rear derailleurs than the front.
When you need to shift the cage inward away from the chain, crank the adjustment clockwise slightly to release cable strain. If the problem is because your machine is clogged, this is the best option.
If none of these work, take your bicycle to a bicycle repair or service shop for a proper examination.
4. The Cable Is Damaged or Not Correctly Tensioned
Even minor quantities of grit and dirt can create issues, so maintain your derailleurs clean at all times.
Re-lubricate them every a month or so (depending on riding circumstances) to maintain them in good working order.
Use bike-specific drip lubrication and be sure to twist the derailleur back and forth while applying it.
Common Mistakes to Avoid
When fixing a front derailleur, avoid these common mistakes:
Mistake 1: Over-Tightening Limit Screws
Problem: Turning limit screws too far can prevent shifting entirely or cause the chain to drop.
Solution: Make small adjustments (quarter turns) and test after each adjustment.
Mistake 2: Incorrect Derailleur Height
Problem: Setting the derailleur too high or too low causes poor shifting and chain rub.
Solution: Position the derailleur cage 2-3mm above the largest chainring teeth.
Mistake 3: Ignoring Cable Condition
Problem: Using old, frayed, or rusted cables leads to inconsistent shifting.
Solution: Replace cables every 1,000-2,000 miles or if you see visible damage.
Mistake 4: Not Cleaning Before Adjusting
Problem: Dirt and grime can prevent proper adjustment and cause premature wear.
Solution: Always clean the derailleur and chain before making adjustments.
Mistake 5: Adjusting While Chain Is in Wrong Position
Problem: Adjusting limit screws while the chain is on the wrong chainring causes incorrect settings.
Solution: Always shift to the correct chainring before adjusting limit screws.
Cost Estimates: DIY vs Professional Repair
DIY Repair Costs
| Repair Type | Parts Needed | Cost | Time Required |
|---|---|---|---|
| Cable Adjustment | None (barrel adjuster) | $0 | 10-15 minutes |
| Limit Screw Adjustment | None | $0 | 15-20 minutes |
| Cable Replacement | New cable and housing | $10-20 | 30-45 minutes |
| Derailleur Cleaning | Degreaser, lube | $5-10 | 20-30 minutes |
| Derailleur Alignment | None | $0 | 15-20 minutes |
Total DIY Cost Range: $0-30 depending on what needs fixing
Professional Repair Costs
| Service | Typical Cost | Time Required |
|---|---|---|
| Basic Adjustment | $25-40 | 15-30 minutes |
| Cable Replacement | $35-50 | 30-45 minutes |
| Full Tune-Up (includes derailleur) | $60-100 | 1-2 hours |
| Derailleur Replacement | $80-150 (parts + labor) | 45-60 minutes |
When to DIY: Simple adjustments, cable tension, limit screws, cleaning When to Go Pro: Bent derailleur, complex issues, lack of tools/experience, warranty concerns
When to Replace vs Repair
Repair If:
- Cable is just loose or needs adjustment
- Limit screws need fine-tuning
- Derailleur just needs cleaning and lubrication
- Minor alignment issues
- Cable needs replacement but derailleur is fine
Cost: $0-30 DIY, $25-50 professional
Replace If:
- Derailleur cage is bent or cracked
- Mounting clamp is damaged
- Pivot points are seized and won’t move
- Derailleur is severely rusted or corroded
- Repair costs exceed 50% of replacement cost
- Derailleur is more than 10 years old and showing significant wear
Cost: $40-120 for new derailleur, $80-150 with installation
Decision Guide: If the derailleur moves freely when you push it by hand but won’t shift, it’s likely a cable/tension issue (repair). If the derailleur won’t move at all or is visibly damaged, replacement is needed.
Can You Ride a Bike Without a Front Derailleur?
Front derailleurs are largely obsolete these days, at least on mountain bikes. Even high-end road bikes are losing their front derailleurs.
With a bigger rear cassette, the same number of gears may be obtained without the use of a front derailleur. As a result, the notion that a lack of derailleur equals reduced range is no longer true.
Shimano’s 1X11 and 1X12 drivetrains, effectively eliminated the necessity for a front derailleur in mountain riding.
A bigger front chainring aids climbing, which is frequently done via the front derailleur.
Bottom Line
Front derailleurs can cause sluggish or incorrect shifting if the derailleur body is not properly positioned, the limit screws are not properly set, the mechanism is unclear, or the cable is broken or inadequately tensioned.
The derailleur case swings back and forth, delivering your chain from chainring to chainring. For it to perform properly, it must move from side to side within a very narrow range. Even small amounts of grit and grime can cause problems so keep your derailleurs clean at all times!
Quick Fix Summary:
- Check cable tension first (most common issue)
- Adjust limit screws if chain rubs or drops
- Clean and lubricate regularly
- Replace cables every 1,000-2,000 miles
- If DIY doesn’t work, professional adjustment costs $25-40
Frequently Asked Questions
Why won't my front derailleur shift to the big chainring?
The most common cause is insufficient cable tension. Try turning the barrel adjuster counterclockwise to increase tension, or check if the cable has stretched or come loose. Also check the outer limit screw - it may be set too tight, preventing the derailleur from moving outward.
Why won't my front derailleur shift to the small chainring?
This is usually caused by too much cable tension or the inner limit screw being set incorrectly. Turn the barrel adjuster clockwise to reduce tension, or adjust the inner limit screw to allow more inward movement.
How do I know if my front derailleur needs replacement?
Replace your front derailleur if: the cage is bent or cracked, the mounting clamp is damaged, pivot points are seized and won't move, or it's severely rusted. If it moves freely by hand but won't shift, it's likely a cable issue that can be fixed.
Can I fix a front derailleur myself?
Yes, most front derailleur issues can be fixed at home with basic tools. Cable adjustments, limit screw tuning, and cleaning are all DIY-friendly. However, if the derailleur is bent or damaged, or you're not comfortable with bike mechanics, take it to a professional.
How often should I adjust my front derailleur?
Front derailleurs typically need adjustment every 500-1,000 miles or when you notice shifting problems. Cables stretch over time, so regular fine-tuning with the barrel adjuster is normal. A full adjustment with limit screws is usually needed less frequently.
What tools do I need to fix a front derailleur?
Basic tools include: Allen keys (usually 4mm or 5mm), cable cutters (if replacing cable), degreaser and lubricant, and a Phillips screwdriver for limit screws. Most adjustments can be done with just an Allen key and the barrel adjuster on your shifter.
Why does my chain rub the front derailleur?
Chain rub is usually caused by: derailleur misalignment (not parallel to chainrings), incorrect height (too low), or limit screws set incorrectly. Check that the derailleur cage is 2-3mm above the largest chainring and parallel to the chainrings when viewed from above.
Can a bent front derailleur be fixed?
Minor bends in the derailleur cage can sometimes be straightened carefully, but it's risky and may weaken the metal. If the mounting clamp or pivot points are bent, replacement is recommended. Bent derailleurs often cost $40-120 to replace, which is usually more cost-effective than attempting repairs.